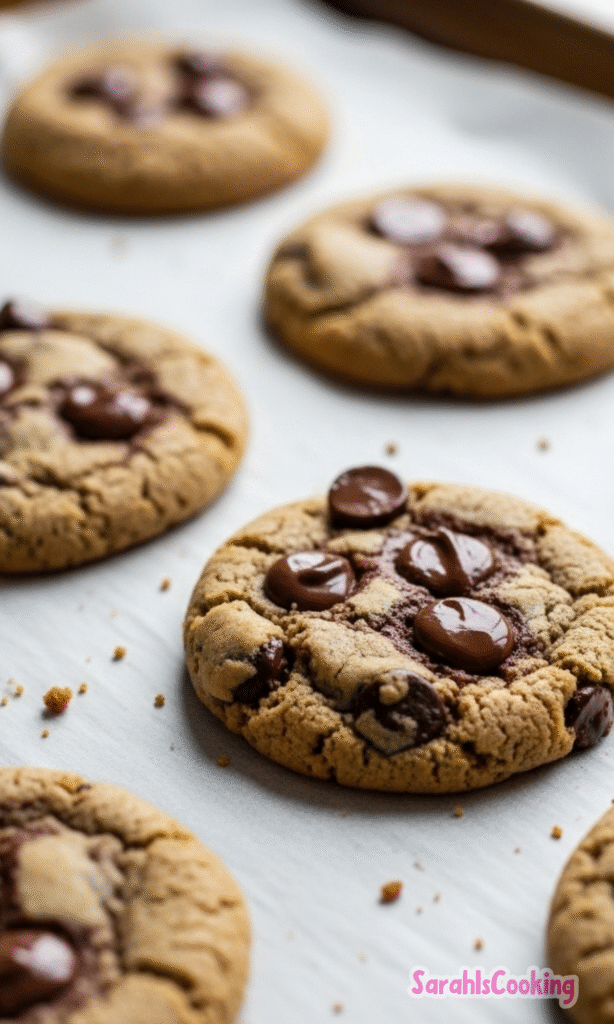
A truly dependable chocolate chip cookie should deliver the same result every time: lightly crisp edges, a soft center, balanced sweetness, and chocolate distributed throughout each bite.
This version is built around structure and control. The ratios are deliberate. The mixing method is specific. The bake temperature is chosen to manage spread without sacrificing chew.
This is not a novelty cookie. It is a foundational one. When measured accurately and mixed with intention, it produces consistent results whether you bake immediately or chill the dough overnight.
Who This Recipe Is For
This recipe is for home bakers who want clarity instead of guesswork. If you have ever wondered why your cookies turned out flat one time and thick the next, this article addresses that directly.
It works well for beginners because the technique is straightforward, but it also satisfies experienced bakers who care about precision. If you sell baked goods occasionally, need reliable results for a gathering, or want a freezer-friendly dough you can trust, this formula supports that.
No specialty equipment is required. A stand mixer makes creaming easier, but a hand mixer works. A kitchen scale is strongly recommended for flour accuracy. It removes one of the most common causes of dry cookies.
Why This Recipe Works
Balanced Sugar Ratio for Texture Control
Chocolate chip cookies rely heavily on the balance between brown sugar and granulated sugar. Brown sugar contains molasses, which adds moisture and acidity. That acidity activates baking soda and contributes to chew. Granulated sugar encourages spread and crisp edges because it melts and recrystallizes during baking.
Too much brown sugar creates a cookie that feels damp and overly soft even after cooling. Too much white sugar produces excessive spread and brittle edges. This recipe balances the two to create defined edges and a tender center that sets without becoming cakey.
The ratio was tested in small adjustments of two tablespoons at a time. Even minor shifts changed texture noticeably. The final proportion creates structure without heaviness.
Proper Fat Emulsification
Softened butter is creamed with sugar to incorporate air. This aeration affects lift and tenderness. Butter that is too cold does not incorporate properly and produces dense cookies. Butter that is partially melted leads to excessive spread.
The goal is true room temperature. When pressed with a finger, the butter should indent easily but not look glossy or oily. During creaming, the mixture should transition from grainy and dark to lighter in color and slightly fluffy. That transformation matters. Under-creamed butter results in flatter cookies with uneven texture.
Using melted butter creates a different cookie entirely. It yields a chewier, flatter profile because there is no incorporated air. This recipe is designed for structure and controlled thickness, so softened butter is intentional.
Controlled Spread Through Flour and Temperature
Flour provides structure through gluten formation. Accurate measurement is critical. A heavy-handed scoop can add up to three extra tablespoons per cup, which shifts the cookie from tender to dry.
Dough temperature also affects spread. Warm dough spreads quickly before structure sets. Chilled dough spreads more slowly, allowing the edges to set while the center remains soft. This is why resting dough overnight deepens flavor and slightly thickens the final cookie.
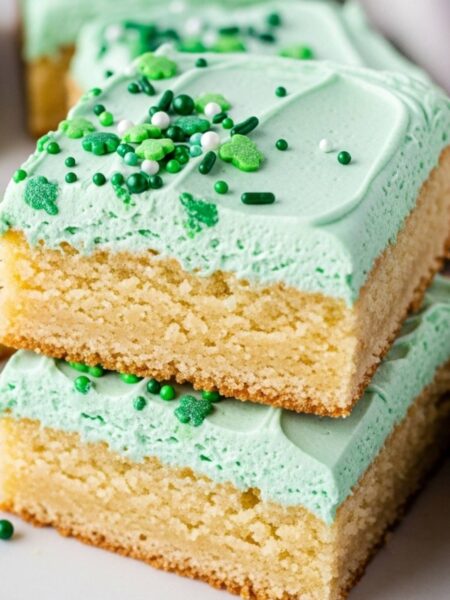
These principles also appear in other cookie styles. For comparison, the dough structure in Sugar Cookies Recipe relies on higher flour content and less spread to maintain shape. Understanding how flour influences structure helps prevent common failures across cookie types.
Ingredient Insights and Function
Flour: Structure and Moisture Absorption
All-purpose flour builds the framework of the cookie. Its protein content is strong enough to support structure without creating toughness when mixed correctly.
Weighing flour provides consistency. If using measuring cups, spoon flour into the cup and level it off rather than scooping directly from the bag. Over-measuring produces thick, dry cookies that feel crumbly after cooling.
A small increase of one to two tablespoons can be used intentionally if you prefer slightly thicker cookies, but more than that disrupts balance.
Baking Soda: Leavening and Browning
Baking soda reacts with the acidity in brown sugar. This reaction helps cookies rise and promotes browning. Too much baking soda causes excessive spread and can leave a faint metallic taste.
Level measurements matter. A rounded teaspoon is enough to alter texture noticeably.
Salt: Flavor Amplification
Salt sharpens sweetness and enhances chocolate flavor. Without it, the cookie tastes flat. If using salted butter, reduce the added salt slightly but do not eliminate it entirely.
A small sprinkle of flaky salt after baking adds contrast, but it should enhance rather than overpower.
Butter: Fat Content and Temperature
Unsalted butter allows precise control of salt levels. European-style butter with higher fat content creates slightly richer cookies but may increase spread due to lower water content. Standard American butter works reliably in this formula.
Temperature remains the most important factor. Soft but cool butter produces consistent aeration.
Eggs: Binding and Texture
A large egg contributes moisture and structure. Extra yolks create a richer, softer cookie. Extra whites create a drier texture. This formula uses a whole egg to maintain balance.
Bring the egg to room temperature before mixing to encourage proper emulsification.
Chocolate: Chips Versus Chunks
Semisweet chocolate chips hold their shape and distribute evenly. Chopped chocolate melts more readily and creates pools. A mix of both can be used for visual variation.
Higher cacao percentages reduce perceived sweetness. If using dark chocolate above 70 percent, consider increasing granulated sugar slightly to maintain balance.
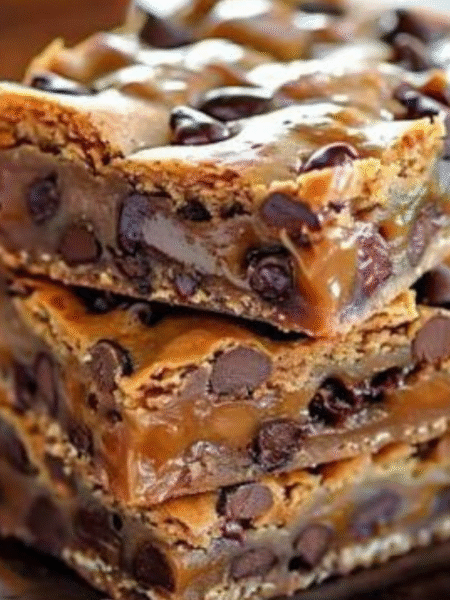
The mixing method used here differs from bar cookies such as Cinnamon Sugar Blondies Recipe, where minimal aeration is desired for density. Understanding these distinctions helps control outcome across recipes.
Step-by-Step Success Guidance
Whisk Dry Ingredients Thoroughly
Whisking flour, baking soda, and salt ensures even distribution. Uneven leavening can cause some cookies to dome while others spread excessively.
Cream Butter and Sugars Properly
Beat softened butter with both sugars on medium-low speed for four to five minutes. The mixture should lighten in color and look slightly fluffy. Stop and scrape the bowl once or twice.
If the mixture still looks dense and dark, continue mixing. This stage determines texture more than many realize.
Incorporate Egg and Vanilla Smoothly
Add the egg and vanilla and mix until fully incorporated. The mixture should look cohesive and glossy but not curdled. If it appears separated, the butter may have been too cold.
Mix to Just Combined
Add dry ingredients gradually on low speed. Stop mixing when the last streak of flour disappears. Overmixing develops gluten and toughens the cookie.
Fold in chocolate by hand to prevent additional mixing.
Scoop for Uniform Baking
Use a cookie scoop for even portions. Uniform size ensures even baking. Place dough balls at least two inches apart.
Press a few extra chocolate pieces on top if desired. This step improves appearance without affecting structure.
Bake by Visual Cues
Bake until the edges are golden brown and the centers look slightly underdone. The surface should appear set but soft. Carryover heat will finish cooking the center as the cookies rest on the pan.
If using chilled dough, baking time may increase by one to two minutes. Avoid extending bake time excessively. Overbaking dries the center.
How I Tested and Refined This Recipe
Initial testing began with a higher brown sugar ratio. The cookies were soft but lacked defined edges. Increasing granulated sugar improved crispness but reduced chew. The final ratio strikes a balance that preserves both qualities.
Butter temperature trials revealed that slightly melted butter caused excessive spread, even when chilled. Fully softened but cool butter maintained structure best.
Flour measurement was tested by weight and by volume. Volume measurements varied noticeably between testers. Cookies made with heavier scoops were thicker and drier. This reinforced the recommendation to weigh flour.
Bake temperature was tested at 350°F and 375°F. At 375°F, edges browned too quickly before the center set. At 350°F, cookies spread slightly more but baked evenly. The final temperature reflects that balance.
Chill testing compared immediate baking, one hour chill, and overnight rest. Overnight dough produced slightly deeper flavor and reduced spread by a small but visible margin. However, the recipe performs well without chilling when butter temperature is controlled.
These refinements were small but cumulative. Each adjustment contributed to consistency.
Common Mistakes and How to Avoid Them
Cookies Spread Too Much
Causes include overly soft or melted butter, warm kitchen temperatures, or under-measured flour. Chill the dough for 30 minutes before baking if your kitchen is warm. Verify flour measurement accuracy.
Cookies Are Dry or Dense
This usually results from over-measuring flour or overbaking. Check cookies at the minimum bake time. Remove them when centers still appear slightly soft.
Uneven Browning
Hot spots in the oven can cause inconsistent color. Rotate baking sheets halfway through baking if needed. Also confirm baking soda is fresh.
Chocolate Clumps at the Bottom
If chocolate is added before dry ingredients are fully incorporated, it can sink. Fold chocolate in gently after flour disappears.
Make-Ahead, Storage, and Freezing Guidance
Baked cookies keep well in an airtight container at room temperature for up to five days. Texture becomes slightly firmer after day two but remains pleasant if stored properly.
For longer storage, freeze baked cookies in a single layer until solid, then transfer to a freezer-safe container. Thaw at room temperature. Brief warming in a low oven restores softness.
Freezing dough balls is often preferable. Freeze until solid, then store in a sealed bag for up to three months. Bake directly from frozen, adding one to two minutes to baking time. This method preserves texture and freshness better than freezing baked cookies long term.
As with other freezer-friendly treats such as Peanut Butter Energy Balls Recipe, portioning before freezing makes future use simple and controlled.
Food safety remains straightforward. Because these cookies are fully baked and low in moisture, they are shelf stable for several days. Avoid storing in humid environments, which can soften edges.
Final Reinforcement
A dependable chocolate chip cookie comes down to balance and attention to detail. Measure carefully. Control butter temperature. Watch for visual cues rather than relying solely on time.
When those variables are managed, the result is consistent. The edges set properly. The centers stay tender. The chocolate remains evenly distributed. This recipe is built to perform that way each time you return to it.
Chocolate Chip Cookies Recipe
Description
These are the best chocolate chip cookies! You’ll love the crisp golden edges and gooey, chocolatey middles. I give you all of my expert tips and tricks for making the best cookies: how to chill or freeze the dough for later, various mix-ins you can add, and a secret ingredient to making the perfect soft chocolate chip cookies.
ingredients
Instructions
- Preheat the oven to 350°F (177°C). Line two baking sheets with parchment paper or a silicone mat.
- In a medium bowl, whisk together the flour, baking soda, and salt.
- In the bowl of a stand mixer with the paddle attachment or a large mixing bowl with a handheld mixer, combine the butter and sugars. Beat on medium-low speed until very light and fluffy, about 5 minutes.
- Add the egg and vanilla. Beat until well combined, scraping down the sides of the bowl.
- With the mixer on low, gradually add the flour mixture. Beat just until combined.
- Gently stir in the chocolate chips by hand using a rubber spatula.
- Using a 1½-tablespoon cookie scoop, scoop the dough into balls and place on the prepared baking sheets. Press extra chocolate chips on top. (If desired, chill the dough balls for 1 hour or up to 72 hours.)
- Bake for 12 to 14 minutes or until the edges are golden brown. (If using chilled dough, bake for 13–15 minutes.) For best results, bake one sheet at a time. Immediately sprinkle with flaked sea salt, if desired.
- Let the cookies cool on the pan for 5 to 10 minutes, then transfer to a wire cooling rack to finish cooling.
Nutrition Facts
Servings 24
Serving Size 1 cookie
- Amount Per Serving
- Calories 190kcal
- % Daily Value *
- Total Fat 10g16%
- Saturated Fat 6g30%
- Cholesterol 30mg10%
- Sodium 125mg6%
- Potassium 70mg2%
- Total Carbohydrate 25g9%
- Dietary Fiber 1g4%
- Sugars 15g
- Protein 2g4%
- Calcium 20 mg
- Iron 1 mg
* Percent Daily Values are based on a 2,000 calorie diet. Your daily value may be higher or lower depending on your calorie needs.
Note
- Weigh the flour. Using too much flour is a common mistake that will cause the cookies to turn out dry. A kitchen scale is the best tool for accurately measuring flour.
- Use room temperature ingredients so they incorporate better. Set out the refrigerated ingredients in advance.
- Chill the dough for deeper flavor and chewier texture—up to 72 hours! Add 1–2 minutes to bake time if chilled.
- Don’t overbake! Remove cookies when edges are golden but centers still look slightly underdone—they’ll set while cooling.