There are recipes you can tweak endlessly, and then there are recipes that ask you to listen instead of improvise. Traditional king cake falls squarely in the second category. This is a bread with history, rhythm, and expectations, and when you respect those, it delivers every single time.
I’ve tested this version across multiple Mardi Gras seasons, adjusting proof times, flour handling, and shaping until it behaved the same way in my kitchen year after year. The goal here isn’t novelty. It’s consistency, flavor, and a texture that feels right the moment you tear into it.
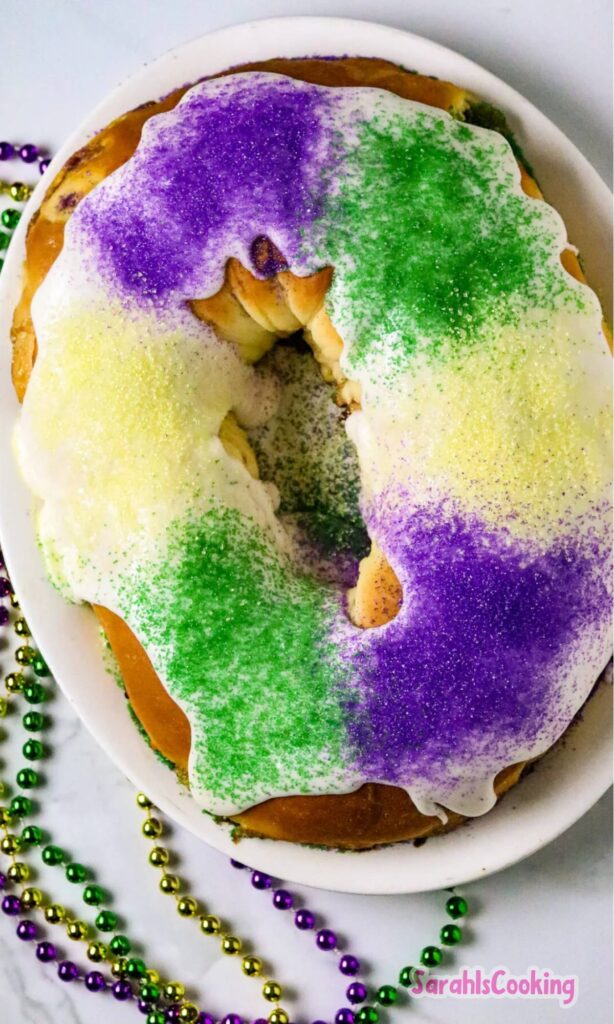
This is a classic New Orleans–style king cake. Lightly sweet, enriched with butter and egg yolks, gently spiced, and finished with a simple icing and traditional colors. It’s meant to be shared, sliced generously, and trusted.
Who This Recipe Is For
This recipe is for bakers who want a traditional king cake that looks and tastes like the ones found in Louisiana bakeries during Carnival season. It’s for readers who value structure, clear cues, and explanations that prevent wasted ingredients.
You don’t need to be an expert baker to make this successfully, but you do need patience and attention. If you enjoy understanding why dough behaves the way it does and want repeatable results, this recipe will feel comfortable.
If you’re looking for stuffed fillings, shortcut doughs, or bold flavor twists, this may feel restrained. That’s intentional. This version is about honoring the base before building on it.
Why This Recipe Works
This king cake dough is structured like a lightly sweetened brioche. The balance of fat, egg yolks, and milk creates a soft crumb without tipping into cake territory. It stays sliceable and sturdy, which matters once it’s braided and iced.
Using egg yolks instead of whole eggs adds richness without excess moisture. That keeps the dough elastic and easier to braid while still baking up tender. The butter is melted and incorporated early, helping it disperse evenly.
The spice level is deliberate. Cinnamon leads, nutmeg supports, and lemon zest lifts everything without announcing itself. The result is familiar but not flat, which is exactly what a traditional king cake should be.
Ingredients Needed for the Recipe
- Lukewarm milk – Activates the yeast and hydrates the flour without stressing the dough.
- Granulated sugar – Feeds the yeast and lightly sweetens the bread without making it dessert-sweet.
- Dry yeast – Provides reliable lift and structure for a rich dough.
- All-purpose flour – Creates a tender crumb while still supporting braiding and shaping.
- Melted butter – Adds richness and softness, helping the cake stay tender for days.
- Egg yolks – Contribute fat and emulsification without excess liquid.
- Vanilla extract – Rounds out the sweetness and enhances the spice.
- Fresh lemon zest – Brightens the dough and balances the butter.
- Cinnamon – Provides warmth and classic king cake flavor.
- Freshly grated nutmeg – Adds depth and aroma without overpowering.
For the icing, powdered sugar provides structure, condensed milk adds creaminess and sweetness, and lemon juice keeps it from tasting heavy. The colored sugars are decorative, but they also signal tradition.
How to make Traditional King Cake Recipe?
Step 1 - Activate the Yeast
Pour the lukewarm milk into a large mixing bowl and whisk in the sugar, yeast, and a small scoop of the flour. The mixture should look cloudy and slightly thickened.
Let it sit until bubbles form and the surface looks foamy. This usually takes several minutes. If nothing happens, stop and reassess before moving on.
Step 2 - Build the Dough Base
Whisk the melted butter, egg yolks, vanilla, and lemon zest into the yeast mixture. The mixture should look smooth and glossy, not separated.
Add the remaining flour, cinnamon, and nutmeg. Use a sturdy spatula to fold until a soft dough forms and pulls away from the bowl.
Step 3 - Knead Until Elastic
Turn the dough out onto a lightly floured surface. Knead steadily until it becomes smooth, elastic, and slightly tacky but not sticky.
This takes time. Expect about 15 minutes by hand. The dough should stretch without tearing when ready.
Step 4 - First Rise
Place the dough back into the bowl and cover tightly. Let it rise in a draft-free spot until doubled in size.
Depending on room temperature, this can take around 90 minutes. Look for volume, not the clock.
Step 5 - Shape and Braid
Gently deflate the dough and divide it into three equal portions. Roll each into a rope of the same length.
Braid the ropes loosely, then form the braid into a circle and pinch the ends to seal. Transfer carefully to a prepared baking sheet.
Step 6 - Second Rise and Bake
Allow the shaped dough to rise again until visibly puffy and nearly doubled. This second rise ensures a light crumb.
Bake until golden brown and set through the center. The surface should feel firm but not hard.
Step 7 - Cool and Finish
Let the cake cool completely before icing. Warm bread will cause the icing to melt and slide.
Spread the icing evenly, decorate with colored sugars, and insert the fève from the underside after finishing.
Visual and Texture Cues That Matter
The dough should feel soft and supple after kneading, not stiff or dry. If it resists stretching, it needs more kneading or rest.
During baking, the braid should expand without tearing. Small splits often mean under-proofing or excessive flour during shaping.
The finished crumb should pull apart in strands, not crumble. If it feels dense, the rise was rushed.
Common Mistakes and How to Fix Them
Using milk that’s too hot can kill yeast before it has a chance to work. If the milk feels hot to the touch, let it cool.
Adding too much flour during kneading is another frequent issue. A slightly tacky dough is better than a dry one.
Skipping the second rise leads to a tight interior. Even if the dough looks fine, give it the time it needs.
Substitutions and Their Consequences
Whole eggs can replace yolks, but the crumb will be firmer and less rich. The dough may also need slightly more flour.
Plant-based milk works, but the flavor will be less rounded. Choose an unsweetened option to avoid altering sweetness.
Pre-ground nutmeg can be used, though the aroma will be milder. Reduce the amount slightly to avoid bitterness.
Tips
- Measure flour by spooning and leveling to prevent a heavy dough.
- Proof in a warm but not hot environment for steady rise.
- Braid loosely to allow expansion during baking.
- Cool fully before icing to protect texture and appearance.
Make-Ahead, Storage, and Freezing
The dough can be prepared through the first rise and refrigerated overnight. Bring it back to room temperature before shaping.
Once baked and iced, king cake keeps well at room temperature for two days when covered. Refrigeration dries it out.
For longer storage, freeze the un-iced baked cake tightly wrapped. Thaw at room temperature and ice before serving.
Serving and Tradition Notes
King cake is traditionally served in slices, not wedges, emphasizing sharing over precision. The shape matters as much as the flavor.
If you’re new to the tradition, inserting the fève after baking is safest. Tuck it from the bottom so it stays hidden.
This section is a natural place to internally link to an article about Mardi Gras food traditions, helping readers understand context and timing.