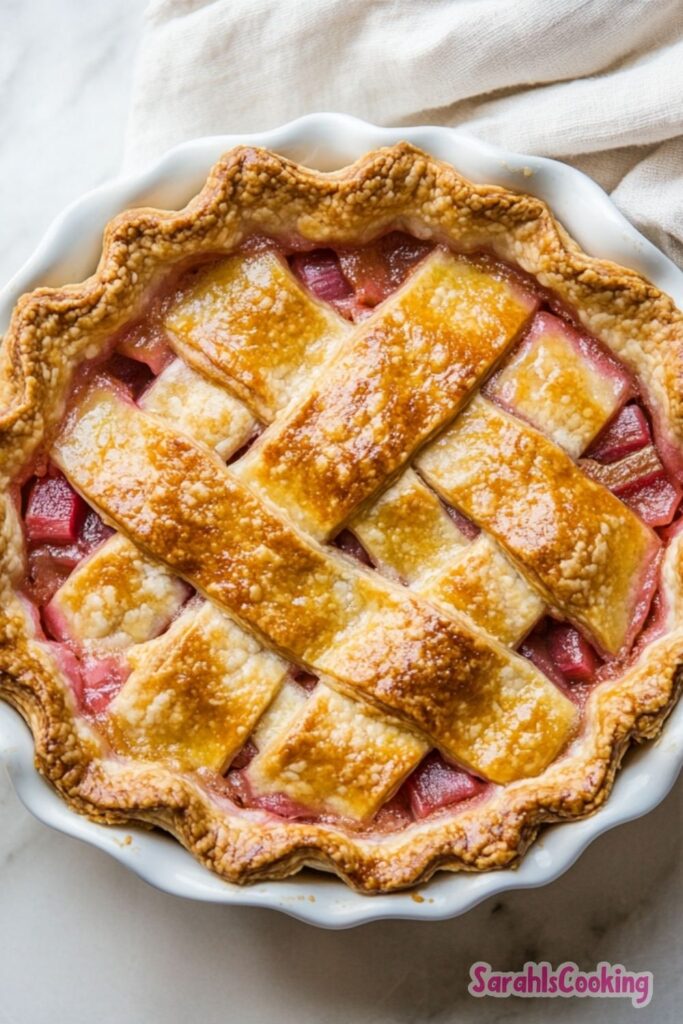
Simple rhubarb pie with a flaky crust and balanced sweet-tart filling. A reliable, classic dessert made with simple ingredients and precise baking steps.
This is the kind of pie that relies on balance rather than complexity. Rhubarb brings a sharp, clean tartness, and the structure around it needs to support that without dulling it.
I’ve tested this recipe to hold its shape, slice cleanly, and still feel soft and juicy in the center. It is simple by design, but not casual in execution.
As someone who bakes with a fairly exact mindset, I pay close attention to ratios and temperature shifts here. When done right, this pie delivers consistent results every time.
Ingredients Needed for the Recipe
Rhubarb - The primary filling component; its high water content and acidity define the texture and flavor of the pie.
Sugar - Balances the tartness and draws moisture from the rhubarb, helping create the filling base.
Flour - Acts as the thickening agent; absorbs released juices and sets the filling during baking.
Butter - Adds richness and helps the filling set with a smooth, cohesive texture.
Double pie crust - Provides structure; the bottom supports the filling while the top controls evaporation and browning.
How to make Rhubarb Pie?
Step 1 - Preheat and Prepare the Oven
Set your oven to 450°F and allow it to fully preheat before assembling the pie. This initial high temperature is critical for setting the crust structure quickly.
If the oven is not fully heated, the crust will soften before it has a chance to firm up. That leads to a weaker base and uneven baking later.
Step 2 - Prepare the Rhubarb
Wash the rhubarb thoroughly and cut it into even 1/2-inch pieces. Uniform size ensures consistent cooking and prevents uneven texture.
If using frozen rhubarb, add it directly without thawing. Thawing releases excess water, which can disrupt the filling consistency.
Step 3 - Mix the Dry Ingredients
Combine the sugar and flour in a bowl until evenly distributed. This prevents clumping and ensures the thickener works evenly throughout the pie.
The mixture should look uniform and slightly powdery. Uneven mixing can cause pockets of raw flour or overly sweet spots.
Step 4 - Prepare the Bottom Crust
Roll out the bottom crust and fit it into your pie dish without stretching the dough. Stretching causes shrinkage during baking.
Sprinkle about one-third of the sugar-flour mixture evenly across the base. This creates an initial barrier that begins thickening immediately.
Step 5 - Add the Filling
Place the rhubarb evenly into the crust, spreading it out without packing it tightly. Air gaps allow heat to circulate and cook the fruit evenly.
Pour the remaining sugar-flour mixture over the top, making sure it settles between the pieces rather than sitting only on the surface.
Step 6 - Add Butter and Top Crust
Dot small pieces of butter across the top of the filling. This melts during baking and integrates into the thickened juices.
Cover with the top crust, seal the edges firmly, and cut vents. Proper sealing prevents leaks, while vents allow steam to escape and reduce excess moisture.
Step 7 - Bake with Temperature Control
Bake at 450°F for 15 minutes to set the crust structure. Then reduce the temperature to 350°F and continue baking for 40 to 45 minutes.
Look for a golden crust and visible bubbling through the vents. The bubbling indicates that the filling has reached the temperature needed to activate the flour.
Step 8 - Cool Completely Before Serving
Remove the pie from the oven and let it cool at room temperature. This step is not optional if you want clean slices.
As it cools, the filling thickens and stabilizes. Cutting too early will result in a loose, runny interior.
Why This Recipe Works
This recipe is built on a simple ratio of fruit to sugar to thickener, but each element is intentional. Rhubarb releases a significant amount of liquid, so the flour is carefully measured to absorb it without making the filling heavy.
The layered approach, with dry mixture under and over the fruit, ensures thickening begins early and continues evenly. This prevents a watery base and keeps the structure consistent throughout.
The temperature shift is equally important. Starting hot sets the crust quickly, while the lower temperature allows the filling to cook through without burning the exterior.
How I Tested and Refined This Recipe
In early tests, I reduced the flour slightly, hoping for a softer filling. The result was too loose, especially when using frozen rhubarb, which releases more liquid.
I also experimented with mixing all ingredients together before adding them to the crust. That approach caused uneven thickening and a less defined structure.
Adjusting the bake time was another key step. Shorter baking left the center under-set, while longer baking at a constant temperature over-browned the crust.
The final method reflects these adjustments. Layering, controlled temperature, and proper cooling create a filling that is stable but still tender.
Common Mistakes and How to Avoid Them
Using thawed rhubarb - Leads to excess moisture and a runny filling. Always use it straight from frozen if not fresh.
Skipping the initial high heat - Prevents proper crust setting and results in a soggy base.
Not sealing the crust edges - Allows filling to leak out and disrupts internal structure.
Forgetting to cut vents - Traps steam, causing excess moisture and uneven cooking.
Underbaking the pie - Filling will not fully thicken if it never reaches a bubbling stage.
Cutting too soon - The filling needs time to set, or it will collapse when sliced.
Make-Ahead, Storage, and Freezing Guidance
This pie can be made a day in advance and stored at room temperature for up to 24 hours. The texture remains stable and slices cleanly after resting.
For longer storage, refrigerate for up to 4 days. The filling will firm slightly more in the fridge, but reheating restores its softer texture.
To freeze, wrap the fully baked and cooled pie tightly. It freezes well for up to 2 months, though the crust may soften slightly upon thawing.
Reheat in a 325°F oven until warmed through. Avoid microwaving, as it softens the crust unevenly.
Tips
Use evenly cut rhubarb for consistent texture.
Keep pie dough cold before baking for better flakiness.
Place the pie on a lower oven rack to help set the bottom crust.
Watch for bubbling, not just browning, to judge doneness.
Let the pie cool completely for clean slicing.
Use a glass pie dish if possible to monitor the bottom crust.
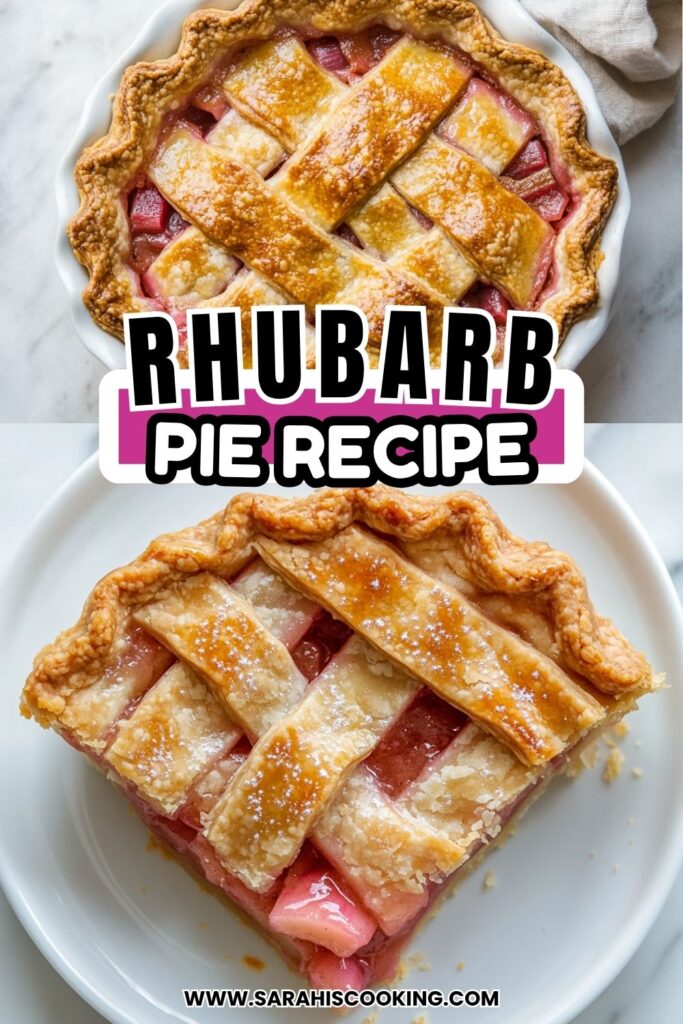
This Simple Rhubarb Pie is a timeless classic that perfectly balances the tartness of fresh rhubarb with the sweetness of sugar and a buttery, flaky crust. Whether you use fresh stalks from your garden or frozen rhubarb from the freezer, this recipe delivers a comforting, homemade dessert that is easy to prepare. The filling sets beautifully thanks to a simple flour thickener, and the double crust seals in all the juicy, tangy flavors. It’s an ideal treat for spring gatherings or any time you crave a traditional fruit pie.
Ingredients
Pie Filling
4-5cups rhubarb, cut into 1/2-inch pieces (Fresh or frozen (do not thaw if frozen))
1 1/3cups sugar (Granulated or raw organic sugar)
6tbsp all-purpose flour (Unbleached preferred)
1tbsp unsalted butter (Cut into small pieces for dotting)
Crust
1double pie crust (Homemade or store-bought (9-inch))
Optional Crumble Topping (Alternative to Top Crust)
1 1/2cups all-purpose flour
1/2cup sugar
1/2tsp baking powder
1/4tsp salt
1/2cup butter, softened
1large egg
Instructions
Preparation
1
Preheat OvenPreheat your oven to 450°F (230°C). Ensure your rack is in the center position.
2
Prepare RhubarbWash the rhubarb stalks thoroughly. Cut them into 1/2-inch pieces. If using frozen rhubarb, measure it out frozen; do not thaw beforehand to prevent excess moisture.
3
Mix Dry IngredientsIn a medium bowl, whisk together the sugar and flour until well combined.
Assembly
4
Prepare Bottom CrustRoll out one half of your pie dough and carefully place it into a 9-inch pie dish. Trim any overhang.
5
Layer FillingSprinkle about 1/3 of the sugar-flour mixture evenly over the bottom crust. Add the rhubarb pieces on top, spreading them out evenly. Sprinkle the remaining sugar-flour mixture over the rhubarb.
6
Add ButterDot the top of the rhubarb filling with the 1 tablespoon of butter pieces.
7
Top Crust or CrumbleOption 1 (Traditional): Place the second pie crust over the filling. Trim, seal, and crimp the edges. Cut several vents in the top to allow steam to escape. Option 2 (Crumble): Mix crumble ingredients until coarse crumbs form. Sprinkle evenly over the filling instead of using a top crust.
Baking
8
Initial BakePlace the pie in the preheated oven at 450°F (230°C) and bake for 15 minutes. This helps set the crust.
9
Final BakeReduce the oven temperature to 350°F (175°C). Continue baking for 40-45 minutes, or until the crust is golden brown and the filling is bubbling through the vents or around the edges.
If using a crumble top, bake until golden and firm.
10
CoolingRemove from oven and let the pie cool completely on a wire rack (at least 2 hours) before slicing. This allows the filling to set properly.
Slicing too early may result in a runny pie.
Nutrition Facts
Servings 8
Serving Size 1 slice (1/8th of pie)
Amount Per Serving
Calories345kcal
% Daily Value *
Total Fat10g16%
Saturated Fat4g20%
Cholesterol15mg5%
Sodium180mg8%
Potassium180mg6%
Total Carbohydrate62g21%
Dietary Fiber2g8%
Sugars38g
Protein3g6%
* Percent Daily Values are based on a 2,000 calorie diet. Your daily value may be higher or lower depending on your calorie needs.
Note
Tips for Success: - Cold Ingredients: If making homemade crust, keep butter and water ice-cold for a flaky texture. - Venting: Always cut vents in a top crust to prevent soggy bottoms and explosive leaks. - Strawberry Variation: Substitute 2 cups of rhubarb with 2 cups of sliced strawberries for a sweeter, colorful twist. - Storage: Cover loosely and store at room temperature for up to 2 days, or in the refrigerator for up to 4 days.
Keywords:
rhubarb pie, classic pie, tart dessert, spring baking, homemade pie, rhubarb recipe
Pin this recipe to share with your friends and followers.
Sarah
Food and Lifestyle Blogger
Hi, I’m Sarah, a home cook and baker who believes that good food doesn’t need to be complicated to be meaningful. This blog is where I share approachable, dependable recipes made with care — the kind of dishes you can come back to again and again.