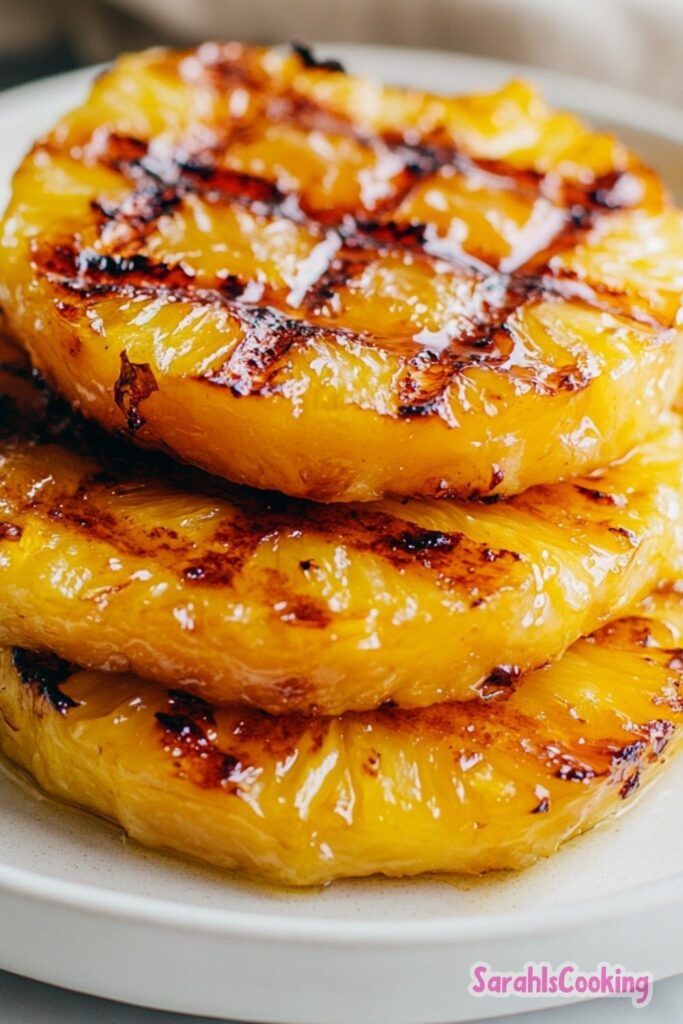
Master perfectly caramelized grilled pineapple slices. Simple, healthy, and ideal for sides or desserts.
Grilling pineapple transforms its natural sugars into a deeply caramelized sweetness, creating a side dish or dessert that’s both impressive and incredibly simple. This method focuses on maximizing that inherent flavor without the need for added sweeteners, letting the fruit truly shine.
You'll find these grilled pineapple slices are exceptionally versatile, pairing beautifully with grilled meats or serving as a light, satisfying finish to any meal. The process is straightforward, emphasizing careful preparation and controlled heat for consistent, delightful results every time.
My aim with this recipe is to provide a reliably delicious outcome that home cooks can trust. It’s about understanding the fruit and the heat to achieve that perfect balance of tender texture and sweet, smoky char.
Ingredients Needed for the Recipe
1 ripe pineapple: The foundation of this recipe, a ripe pineapple provides the natural sugars necessary for caramelization and a tender, juicy texture. Its inherent sweetness intensifies beautifully when exposed to heat.
Olive oil or oil spray: A thin coating of oil is crucial for preventing the pineapple from sticking to the grill grates. It ensures a clean release, allowing for those desirable grill marks and an unbroken slice.
How to make Grilled Pineapple Slices?
Step 1 - Prepare the Pineapple
Lay the pineapple on its side on a sturdy cutting board. Using a sharp, heavy knife, carefully slice off the leafy crown from the top and the rough base from the bottom. This initial step creates stable surfaces for the subsequent cuts.
Step 2 - Remove the Rind
Stand the pineapple upright on the prepared flat bottom. Begin carefully slicing downwards along the curved exterior, following the natural shape of the fruit. Work slowly and deliberately, aiming to remove only the tough rind, preserving as much of the golden flesh as possible.
Step 3 - Trim for Uniformity
As you remove the rind, the pineapple may take on a somewhat hexagonal shape. To achieve a more appealing, circular appearance for your slices, trim away any remaining triangular sections of rind or shallowly cut into the flesh to smooth out the sides. This ensures even cooking and presentation.
Step 4 - Slice into Rings
Turn the prepared pineapple so it lies on its side once more. With your sharp knife, carefully slice the pineapple into rings approximately ½-inch thick. This thickness is ideal, providing enough substance to hold its shape on the grill while still cooking through efficiently.
Step 5 - Core the Rings
Lay each pineapple ring flat on the cutting board. Using a small paring knife or a round cookie cutter that fits comfortably within the center, carefully remove the tough, fibrous core from each slice. This step ensures a pleasant eating experience, leaving you with perfect, uniform pineapple rings.
Step 6 - Preheat the Grill
Preheat your grill to medium heat. Achieving a consistent medium heat is key for allowing the pineapple to caramelize and tenderize without burning. It creates the ideal environment for developing those coveted grill marks.
Step 7 - Oil the Grill Grates or Pineapple
Thoroughly oil your grill grates using a grill brush and oil, or lightly coat both sides of each pineapple ring with an oil spray. This is a non-negotiable step for preventing the sticky sugars in the pineapple from adhering to the hot metal.
Step 8 - Grill the First Side
Arrange the oiled pineapple rings in a single layer on the preheated grill grates. Ensure they are not touching each other to allow for even heat circulation and proper grilling. Grill for approximately 3 to 5 minutes, or until you see distinct, attractive grill marks forming.
Step 9 - Flip and Grill the Second Side
Carefully flip each pineapple ring using a spatula or tongs. Grill the second side for another 3 to 5 minutes, or until the pineapple is tender to the touch and exhibits similar grill marks. The goal is for the fruit to be softened but not mushy.
Step 10 - Serve Immediately
Once perfectly grilled, remove the pineapple slices from the grill. They are best served hot off the grill, allowing you to enjoy the peak of their caramelized sweetness and tender texture.
Why This Recipe Works
The magic of this recipe lies in the Maillard reaction and caramelization. When pineapple is heated, its natural sugars begin to break down and transform, creating complex, sweet, and slightly smoky flavors. Grilling provides the direct heat necessary for this process to occur efficiently and visibly.
The ½-inch thickness of the rings is a deliberate choice. It’s substantial enough to withstand the grilling process without disintegrating, yet thin enough to cook through to a tender consistency within a reasonable timeframe. This balance prevents a raw center or a burnt exterior.
Using a minimal amount of oil is essential. It acts as a barrier between the fruit’s sticky sugars and the hot grill, ensuring clean lines and easy removal. Too much oil can lead to greasiness, while too little results in frustrating sticking.
How I Tested and Refined This Recipe
When I first started experimenting with grilling pineapple, my initial attempts often resulted in burnt edges and a still-firm center. I realized that the heat of the grill was a critical variable. I adjusted from high heat to a more moderate setting, which allowed the pineapple more time to cook through before the exterior became overly charred.
Another challenge was sticking. I tried grilling without any oil, which was a consistent disaster, leaving me with mangled fruit. Then I tried brushing the pineapple directly with melted butter, which added a pleasant flavor but also increased the risk of burning the butter. The most reliable solution I found was a light coating of olive oil or a quick spray of oil directly onto the pineapple slices themselves before they hit the grill.
I also tested different pineapple ripeness levels. Underripe pineapples lacked the necessary sugars for significant caramelization and remained quite tart. Overripe pineapples, while sweet, tended to break down too quickly on the grill, becoming mushy. Selecting a pineapple with a good balance of yellow and green, and one that yields slightly to gentle pressure, proved to be the sweet spot for optimal results.
The core removal was another refinement. Initially, I’d skip it, but it consistently resulted in a chewy, less pleasant texture. Learning to use a paring knife or a small cutter to remove the fibrous center made a noticeable improvement in the overall eating experience.
Common Mistakes and How to Avoid Them
Overly burnt exterior with a raw center: This usually indicates the grill is too hot. Reduce the heat to medium and allow more time for the inside to cook.
Pineapple sticking to the grill: Insufficient oil on the grates or the pineapple itself is the culprit. Ensure a light, even coating of oil on both surfaces before grilling.
Mushy or disintegrated pineapple: The fruit may have been overripe, or it was grilled for too long. Watch for tenderness, not for the pieces to collapse.
Underripe pineapple flavor and texture: Selecting a pineapple that is still predominantly green will result in a tart flavor and a firm, fibrous texture even after grilling.
Make-Ahead, Storage, and Freezing Guidance
Leftover grilled pineapple can be stored in an airtight container in the refrigerator for up to 3 to 4 days. While it’s best enjoyed fresh, the texture remains reasonably good when chilled.
When reheating, you can gently warm the slices in a skillet over low heat or briefly in the microwave. Be cautious not to overheat, as this can make the pineapple too soft. The flavor will still be pleasant, though the grill marks will fade.
Freezing grilled pineapple is generally not recommended. The thawing process tends to break down the cell structure, resulting in a very watery and mushy texture that loses much of its appeal. For the best experience, plan to consume your grilled pineapple within a few days of preparation.
Tips
Always use a sharp knife when cutting the pineapple for cleaner slices.
Don't overcrowd the grill; give each slice space to cook evenly.
Listen for a gentle sizzle when placing the pineapple on the grill – this indicates the grates are adequately hot.
Pat the pineapple slices dry with a paper towel after removing the core to ensure better oil adhesion.
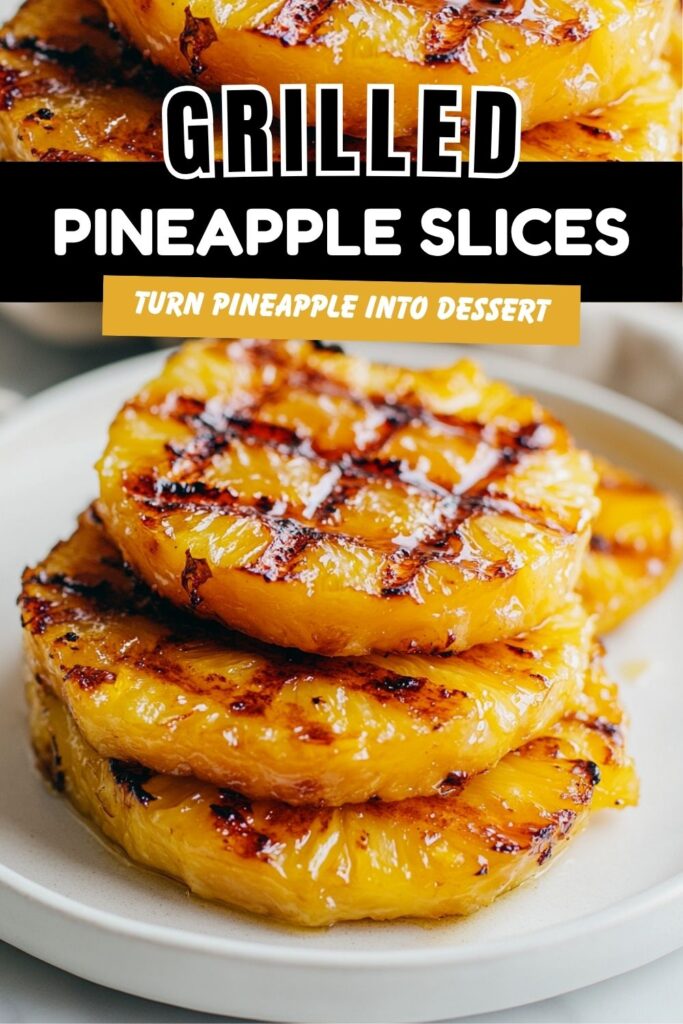
Discover the simple joy of grilling fresh pineapple rings! This recipe transforms sweet pineapple into a delicious, healthy side dish or dessert with beautiful caramelized edges and intensified natural sweetness. Perfect for warm weather gatherings or a light, refreshing treat after a meal.
Ingredients
1 ripe pineapple
olive oil or oil spray
Instructions
How to Cut Pineapple Rings
1
Lay the pineapple on its side. Slice off the top and bottom.
2
Stand the pineapple upright and carefully slice off the rind. Trim any remaining 'eyes' for a clean look.
3
Lay the pineapple on its side again and slice into approximately ½-inch thick rings.
4
Lay each ring flat and use a paring knife or small cookie cutter to remove the core.
How to Grill Pineapple Rings
5
Preheat your grill to medium heat.
6
Lightly oil the grill grates or spray both sides of the pineapple rings with oil to prevent sticking.
7
Place the pineapple rings on the grill in a single layer, ensuring they don't overlap.
8
Grill for 3-5 minutes per side, or until beautiful grill marks appear and the pineapple is tender.
9
Remove from the grill and serve immediately.
Nutrition Facts
Servings 6
Serving Size 1 ring
Amount Per Serving
Calories150kcal
% Daily Value *
Total Fat3.5g6%
Saturated Fat0.5g3%
Sodium5mg1%
Potassium180mg6%
Total Carbohydrate30g10%
Dietary Fiber3g12%
Sugars23g
Protein1.5g3%
* Percent Daily Values are based on a 2,000 calorie diet. Your daily value may be higher or lower depending on your calorie needs.
Note
Enjoy this naturally sweet and caramelized pineapple as a side with grilled meats or as a light dessert.
Keywords:
grilled pineapple, pineapple recipe, fruit grilling, healthy dessert, summer recipe, side dish
Pin this recipe to share with your friends and followers.
Sarah
Food and Lifestyle Blogger
Hi, I’m Sarah, a home cook and baker who believes that good food doesn’t need to be complicated to be meaningful. This blog is where I share approachable, dependable recipes made with care — the kind of dishes you can come back to again and again.