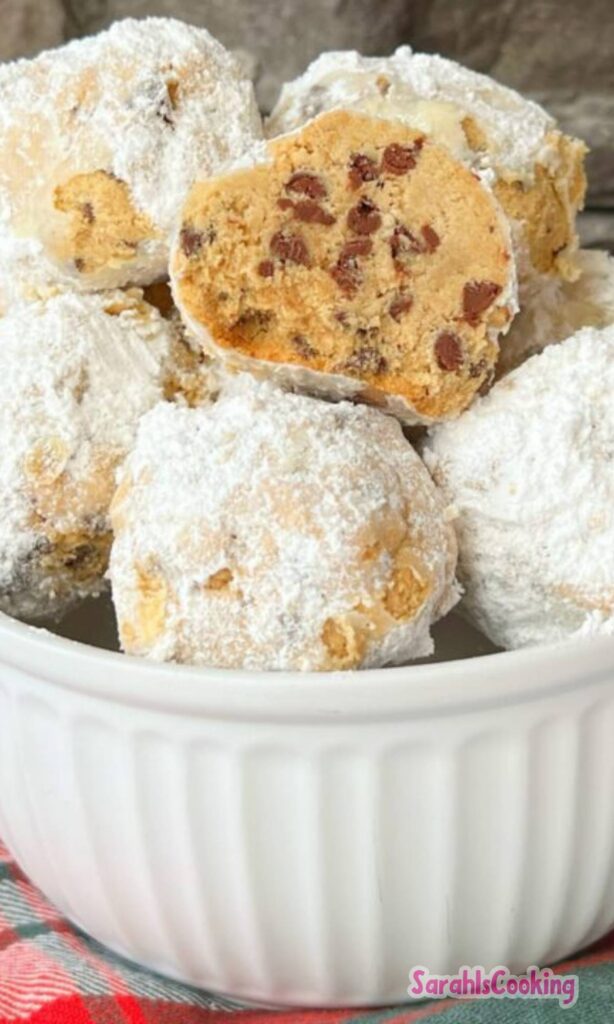
These delicate, powdered sugar–coated cookies go by many names, including Russian Tea Cakes and Mexican Wedding Cookies.
No matter what you call them, they’re instantly recognizable.
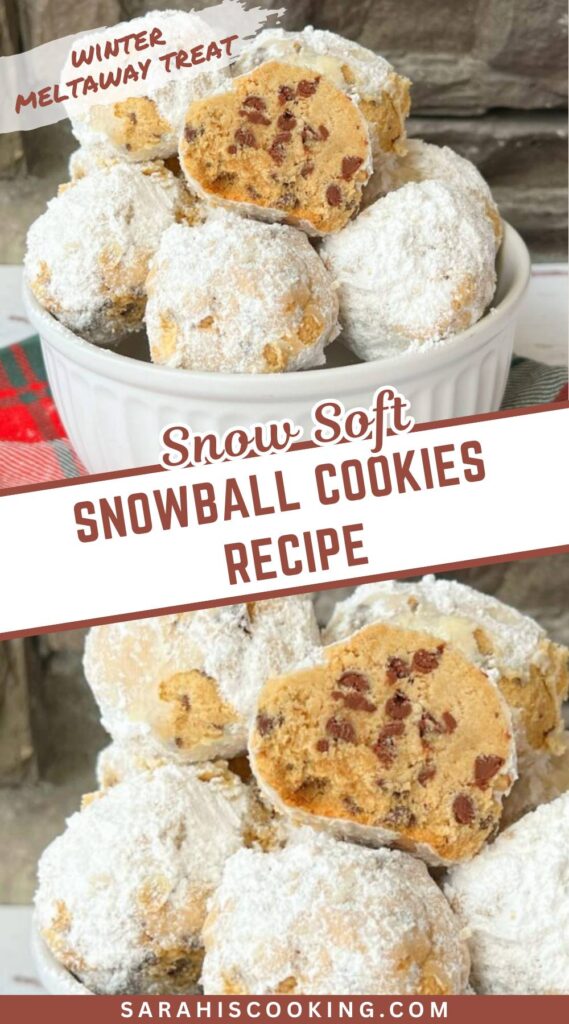
Pale, tender, and dusted in snowy white sugar, they practically melt the moment they hit your tongue.
This is one of those recipes I return to every winter without question. Snowball cookies aren’t flashy, but they’re quietly perfect.
When baked with care, they’re rich without being heavy and sweet without being overwhelming.
Why They're a Holiday Staple
Snowball cookies feel special without asking for much effort.
They don’t need frosting bags, sprinkles, or decoration time.
Their charm comes from simplicity and contrast—the buttery cookie beneath a soft, powdery coating that looks like freshly fallen snow.
On a holiday table, they stand out because they’re understated.
I’ve noticed they’re often the first cookie people reach for, especially after richer desserts. Their light texture makes them incredibly snackable.
Ingredients Needed for the Recipe
This recipe relies on a short list of ingredients, which means quality and handling matter.
Butter (room temperature): Butter is the foundation here. It provides flavor, richness, and that signature melt-in-your-mouth texture. Butter that’s truly at room temperature creams smoothly and traps air, which keeps the cookies delicate instead of dense.
Sugar: A small amount of granulated sugar sweetens the dough itself. Snowball cookies aren’t meant to be very sweet inside—the powdered sugar coating does most of that work.
Vanilla Extract: Vanilla adds warmth and rounds out the nutty flavor. Even a small amount makes the cookies taste more complete.
Salt: Salt sharpens everything. Without it, the cookies taste flat and overly buttery instead of balanced.
All-Purpose Flour: Flour gives the cookies structure. Measuring carefully matters here—too much flour makes them dry and crumbly instead of tender.
Toasted Pecans (finely ground): Pecans provide flavor, texture, and richness. Finely grinding them helps the cookies hold together while keeping that signature crumbly bite.
Powdered Sugar: This is both flavor and presentation. It clings to the warm cookies, creating a soft coating that contrasts beautifully with the buttery interior.
How to make Classic Snowball Cookies?
These cookies are simple to make, but attention to temperature and timing makes a noticeable difference.
Step 1: Creaming the Base
In a large bowl, beat the room-temperature butter, sugar, vanilla, and salt until pale and fluffy.
This step incorporates air into the butter, which keeps the cookies light.
I usually beat for a full two to three minutes, stopping once the mixture looks smooth and slightly whipped.
Step 2: Bringing in the Dry Ingredients
Switch to a spatula and gently stir in the flour in two additions.
Mix just until the flour disappears. Overmixing at this stage develops gluten, which makes the cookies firm instead of tender.
Fold in the finely ground toasted pecans until evenly distributed. The dough should feel soft but not sticky.
Step 3: The Essential Chill
Cover the dough and refrigerate for about 45 minutes.
This rest firms the butter and gives the flour time to hydrate. Chilled dough is easier to shape and helps the cookies hold their round form in the oven.
Step 4: Shaping Your Snowballs
Preheat the oven to 350°F (180°C) and line a baking sheet with parchment paper.
Scoop the dough into level tablespoon portions and roll gently between your palms to form smooth balls. Place them about two inches apart. They don’t spread much, but spacing helps them bake evenly.
Step 5: A Short, Sweet Bake
Bake for 14 to 15 minutes.
The cookies should remain pale on top, with just a hint of golden color on the bottoms.
If they brown too much, they’ll lose their tender texture. I always check the underside of one cookie before pulling the tray.
Step 6: The Fecond Coating & Finale
Transfer the cookies to a wire rack and let them cool completely.
Once fully cooled, roll them in powdered sugar again. This second coating creates that iconic snowy appearance and ensures every bite has just the right sweetness.
The Magic of Toasted Nuts
Toasting the pecans before grinding them is essential.
Raw nuts taste mild and slightly waxy. Toasting wakes up their natural oils and deepens their flavor.
I toast pecans in a dry pan or a low oven until fragrant, then let them cool completely before grinding.
That extra step gives these cookies their signature richness.
Tips
Pulse pecans in short bursts when grinding. You’re aiming for a coarse, sandy texture, not a paste.
If the dough softens while rolling, refrigerate it for 10 minutes. Cold dough is easier to handle and produces more uniform cookies.
For a bakery-style finish, dust the cookies with a light final sprinkle of powdered sugar just before serving.
Creative Twists on a Classic
Once you’ve mastered the traditional version, this dough adapts beautifully.
Finely ground walnuts or hazelnuts work well in place of pecans. Each brings its own flavor profile without changing the texture.
A pinch of cinnamon or a bit of orange or lemon zest adds subtle warmth and brightness without overpowering the cookie.
Gifting with Grace
Snowball cookies are ideal for gifting.
They’re sturdy, they travel well, and they look elegant with minimal effort. I like to layer them in tins with parchment paper between each layer to protect the sugar coating.
They’re especially lovely as part of a holiday cookie box.
Storage and Keeping Fresh
Store fully cooled cookies in an airtight container at room temperature for up to five days.
You can also freeze the baked cookies or the unbaked dough balls.
Frozen dough can be baked straight from the freezer, adding a minute or two to the bake time.
Snowball cookies may be simple, but that simplicity is what makes them timeless.
With careful handling and a light touch, they deliver buttery richness, gentle sweetness, and that unmistakable holiday charm—one snowy bite at a time.
Take your holiday turkey up a notch with this rich, savory gravy made from the drippings. It ties the whole meal together and can be made ahead to keep the day stress-free. Perfect for drizzling over mashed potatoes, stuffing, and roasted turkey!
Ingredients
½cup unsalted butter (1 stick)
1½cups finely chopped yellow onions
¼cup all-purpose flour
2½cups defatted turkey drippings and chicken broth combined (use drippings from roasted turkey; if short, top off with low-sodium chicken broth)
1tbsp Cognac or brandy (optional but recommended for depth)
1tbsp heavy cream
1tbsp chopped fresh herbs (thyme, sage, rosemary, or parsley)
salt and freshly ground black pepper (to taste)
Instructions
1
Melt the butter in a medium saucepan over medium-low heat. Add the onions and cook until very soft and translucent, about 15 minutes.
2
Whisk in the flour and cook for 2 to 3 minutes, stirring occasionally, to remove the raw flour taste.
3
Gradually whisk in the turkey drippings and chicken broth mixture along with the Cognac. Bring to a boil over medium-high heat.
4
Reduce heat to a simmer and cook, stirring occasionally, until the gravy thickens, about 5 minutes.
5
Stir in the heavy cream and fresh herbs. Season generously with salt and pepper to taste. Remember: turkey is mild, so gravy should be well-seasoned.
6
Transfer to a gravy boat and serve warm over turkey, mashed potatoes, or stuffing.
Nutrition Facts
Servings 6
Serving Size ½ cup
Amount Per Serving
Calories210kcal
% Daily Value *
Total Fat16g25%
Saturated Fat10g50%
Cholesterol45mg15%
Sodium320mg14%
Potassium180mg6%
Total Carbohydrate12g4%
Dietary Fiber0.5g2%
Sugars3g
Protein2g4%
Calcium 30 mg
Iron 0.8 mg
* Percent Daily Values are based on a 2,000 calorie diet. Your daily value may be higher or lower depending on your calorie needs.
Note
Make-Ahead Tip: Prepare the gravy base (without drippings) up to 2 days ahead. Reheat with 2 cups chicken broth and stir in ½ cup defatted turkey drippings after roasting.
Not enough drippings? Use all chicken broth—it will still be delicious!
Storage: Leftover gravy keeps for 3–4 days in the fridge or up to 3 months in the freezer.
Gluten-Free Option: Substitute all-purpose flour with gluten-free flour or cornstarch (mix with cold water before adding).
Pin this recipe to share with your friends and followers.
Sarah
Food and Lifestyle Blogger
Hi, I’m Sarah, a home cook and baker who believes that good food doesn’t need to be complicated to be meaningful. This blog is where I share approachable, dependable recipes made with care — the kind of dishes you can come back to again and again.