Let’s be honest, sometimes you want to entertain without sweating over a hot stove. A cheese board is your secret weapon, a no-cook, all-year-round hero that practically throws the party for you. It’s a beautiful, generous spread that says you’ve made an effort, while secretly knowing the assembly is half the fun.
The real magic is in the choice it gives everyone. It’s a social catalyst, a delicious landscape where your guests can wander and build their own perfect bite. From the sharp cheese lover to the sweet dried fruit enthusiast, there’s a little something for every hand that reaches in.
The Art of the Casual Gathering
Think of your cheese board not as a rigid recipe, but as a guide for edible creativity. There’s no single right way to do it, which is the most liberating part. It bends to your season, your budget, and the flavors humming in your kitchen at that very moment.
It’s about textures and colors playing together, a little culinary jazz where you get to be the bandleader. You’re curating an experience, a tasty conversation starter that naturally draws people in and keeps them nibbling happily.
Ingredients Needed for the Recipe
Think of this list as your palette. You don't need every single item, but aiming for a variety across these categories builds depth and interest.
Cheese (3-4 types): The stars of the show. Aim for different textures—a soft brie, a hard cheddar, a crumbly blue, a creamy goat cheese—to offer a real journey.
Crackers & Bread (2-3 varieties): The essential vehicles. Include plain water crackers, something seeded or grainy, and maybe some sliced baguette or crispy breadsticks for contrast.
Fresh Produce: For crunch and bright relief. Apples, grapes, celery sticks, and bell pepper strips are classic, but don’t overlook peppery arugula or juicy pear slices.
Cured Meats: Adds a savory, salty depth. Folded prosciutto, rolled salami, or thin slices of bresaola introduce a wonderful richness.
Dips & Spreads: Creamy or sweet anchors. A small bowl of hummus, a dollop of fig jam, or a spicy pepper jelly creates little flavor destinations on the board.
Olives & Pickles: The briny, tangy palate cleansers. A mix of green and black olives, cornichons, or pickled onions cut through the richness beautifully.
Dried Fruit & Nuts: For sweet and earthy texture. Dried apricots, figs, and a handful of walnuts or marcona almonds add complexity and are perfect for filling gaps.
Extra Virgin Olive Oil (optional): A luxury touch. Served in a tiny dish with that fresh baguette, it invites a simple, divine dip.
How Much Cheese is Enough?
This is the question that haunts every host. The answer, happily, is flexible. Consider the role of your board—is it a pre-dinner nibble or the main event of the night? Also, think about your crowd. Are they adventurous grazers or light eaters?
A good, generous starting point is about 1 to 2 ounces of each cheese type per person. If the board is the centerpiece with few other snacks, lean toward the 2-ounce mark. You know your friends best, so trust your gut. It’s always better to have a little leftover than to see sad, empty boards.
How to make Cheese Board?
Step 1: Choose Your Canvas
First, find your stage. A large wooden board, a sleek slate slab, a pretty ceramic platter, even a clean baking sheet lined with parchment—anything flat and spacious works. Don’t stress about having the “right” thing. Gather a few small bowls or ramekins for messy items like olives or dips.
If you’re serving a whole cheese round or log, place a dedicated knife beside it. Have a few small spreader knives or cheese picks handy too, making everything easy and elegant for guests to serve themselves.
Step 2: Prep Your Components
Now, let’s get everything guest-ready. Cut hard cheeses into slices or manageable cubes. Soft cheeses can be left whole with a knife. Slice or fold cured meats for easy grabbing. Wash and slice fruits and veggies.
Give large items like big dried figs or whole nuts a rough chop. This isn’t just about aesthetics, it’s a nudge for people to try something new. A small, approachable piece is far less committing than a whole, mysterious fruit.
Step 3: Build with Color and Texture
Here’s where the fun truly begins. Start by placing your bowls and any larger cheese pieces on the board first. They act as anchors. Then, work outwards. Drape meats in little piles or rolls. Fan out crackers in a couple of spots.
Scatter clusters of grapes, piles of nuts, and groups of dried fruit deliberately. The key is to mix colors and textures so they’re not all clumped together—spread the green grapes away from the green olives, let the orange apricots play near the white cheese.
Step 4: Fill Every Gap
Step back and look at your creation. See any awkward empty spaces? This is your finishing touch. Use small, colorful items to fill those gaps—a sprinkle of nuts, a few extra berries, a final bunch of crackers.
You can tuck in fresh herb sprigs like rosemary or thyme for a gorgeous, fragrant flourish. The goal is a board that looks abundant and inviting, not sparse or overly planned. It should feel generous and full.
The Simple Magic of Pairings
While building the board is visual, the eating is all about combinations. Encourage your guests to play. A sharp cheddar with a swipe of sweet fig jam on a cracker is a revelation. A bite of creamy brie followed by a salty olive resets the palate.
The blue cheese finds its best friend in a honey drizzle or a sweet dried date. These little pairings are the hidden conversations happening on the board, the delicious discoveries that make the experience memorable and uniquely theirs.
Tips
For mixed-diet gatherings, consider a simple tweak. Place cured meats on a separate small plate. This keeps the main board vegetarian-friendly and lets everyone graze without a second thought.
Embrace the seasons without overcomplicating it. Summer calls for berries and peaches, fall for apples and pears. A few pomegranate arils or mandarin segments in winter make the board feel festive and fresh.
Slice smarter to save money. Buying a block of cheese and cutting it yourself is almost always more economical than pre-sliced options. Bulk nuts and dried fruits are also budget-friendly stars.
Always provide more crackers and bread than you think you’ll need. They are the foundation, and running out leaves cheese stranded. It’s a simple thing that makes a huge difference.
Don’t forget the butter. For some, a thin spread of good butter on a cracker before adding cheese is a non-negotiable, delightful tradition. A small dish with a butter knife is a thoughtful touch.
Your Board, Your Rules
At the end of the day, the only rule is that there are no rules. This is your edible expression. That interesting local cheese you’ve been wanting to try? This is its moment. Your grandma’s favorite pepper jelly? It belongs right in the center.
The board is a reflection of your taste and hospitality. It’s meant to be relaxed, a little messy in the best way, and utterly delicious. So take a deep breath, have fun with it, and get ready to watch your guests gather around the delicious world you’ve created.
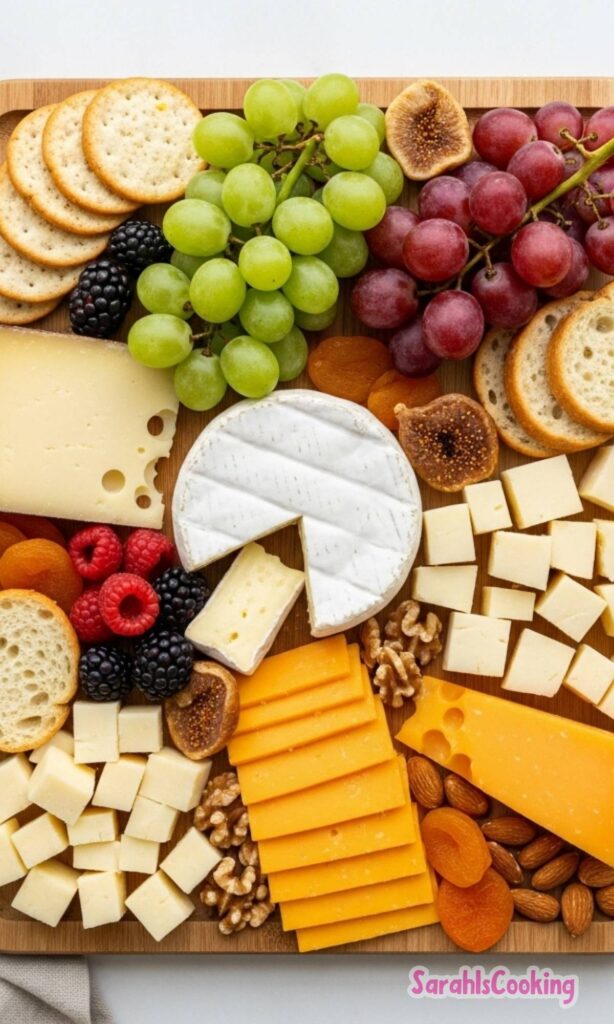
A beautifully arranged cheese board is the perfect no-cook appetizer that caters to a variety of tastes and dietary preferences. This easy-to-assemble platter features an array of cheeses, fruits, nuts, meats, and more—ready in minutes and endlessly customizable for any occasion!
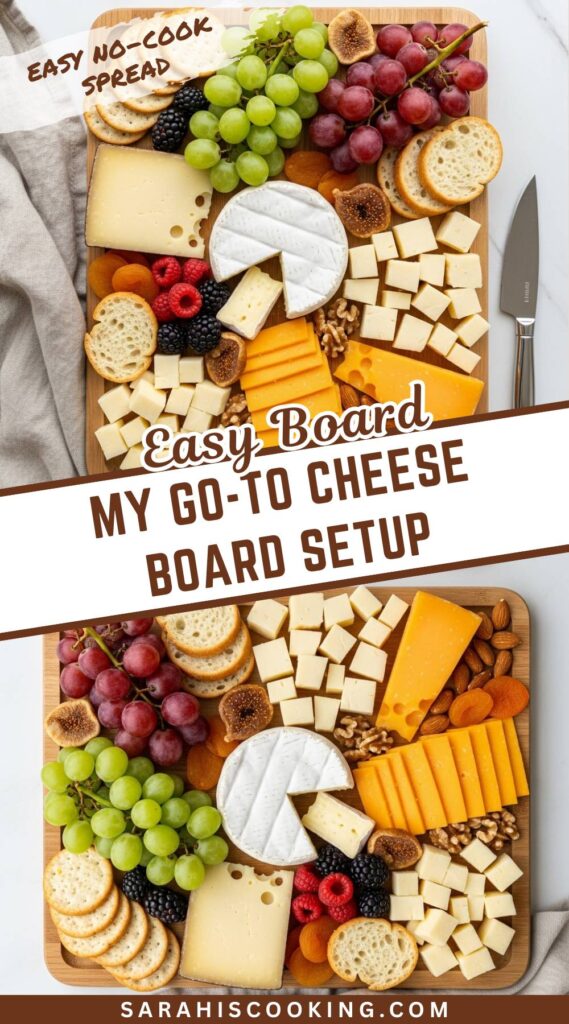
Pin this recipe to share with your friends and followers.
Sarah
Food and Lifestyle Blogger
Hi, I’m Sarah, a home cook and baker who believes that good food doesn’t need to be complicated to be meaningful. This blog is where I share approachable, dependable recipes made with care — the kind of dishes you can come back to again and again.